How To Optimize Your Images For Better Site Performance
Whether you’re running an online business or writing a powerful brand blog, knowing how to optimize your images will determine your success.
People simply love visuals – photos send a clear brand message and influence consumer associations with your company and products.
But sometimes they can seriously compromise your website’s load time.
Here are key tips to help you optimize your visual content and enjoy great performance of your site.
1. Use Alt tags
Your alt tags are basically a text alternative to your images displayed in case a browser can’t render them.
If the image is properly rendered you can still see its alt tag once you hover your mouse pointer over it – and this little piece of text is crucial to your SEO.
By associating the right keywords with images, you will help your website to achieve better rankings. Make sure to fill the alt tag of every single image on your website (except the decorative ones) – write in plain English, include model or serial number of the product on the photo and don’t use too many keywords at once.
2. Be Descriptive With Your File Names
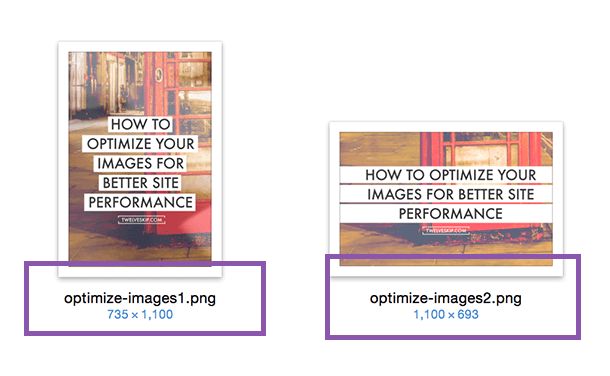
Remember that search engine crawlers look for relevant keywords not only in the text on your website, but also within your file names.
That’s why it’s way better to name your images properly in plain English than settle for generic names.
When adding names to your pictures, consider how users search for these products – have a look at your analytics to identify the patterns and mimic them when naming image files.
3. Benefit from product angles
Selling a product on the web, you usually want to present it from many different angles – its interior, exterior and close ups.
To benefit from these extra images, you should fill out your alt tags to create a unique tag for every single shot. Make sure to always add descriptions to your base alt tags – even if it seems like a lot of work, the traffic sent to you by Google will be worth it.
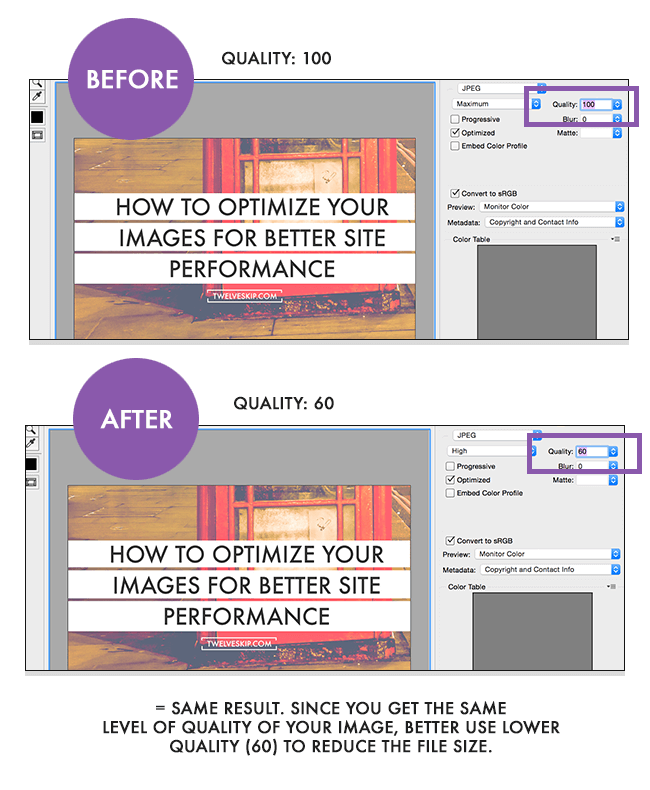
4. Choose your quality
Creating your visuals in a photo editor, you can always select to save a file in different quality levels. As you can imagine, the higher the quality, the heavier the image gets – saving the highest quality possible isn’t always the right step.
Large images used as background and pictures that don’t need high definition can be easily saved with an above-average quality that will be perfect to reduce file size and improve your website’s load time.
5. Use the right file types
In general, there are three basic image file types that are used on the web – jpg, gif and png. Jpg is a standard web format since they’re so easy to compress and retain good quality.
Gifs are generally characterized by lower quality than jpgs and are usually used for simple things like icons or decorative images – for more complex and detailed images, choose other file types.
Finally, there is png, which is gaining popularity as an alternative to jpg, primarily because they don’t degrade by re-saves like jpgs.
Their file size is sometimes still too large, but they’re great for decorative images and simple product photos.
Consider utilizing AI images for further customization and optimization of your website visuals.
6. Reduce file size of your images
Once you choose your file type, the next step is to do everything you can to reduce its size. Your website’s load time is no joking matter.
Did you know that more than 3 seconds of waiting for a page to load is enough for most of your visitors to abandon a page?
If you manage to increase your pageload speed and decrease the weight of your images, you’ll be doing a lot of good to your site.
One good method is to choose ‘Save for Web’ command available to users of Adobe Photoshop – it will adjust the image to the lowest size acceptable for retaining its quality. Here’s an example of how you do it:
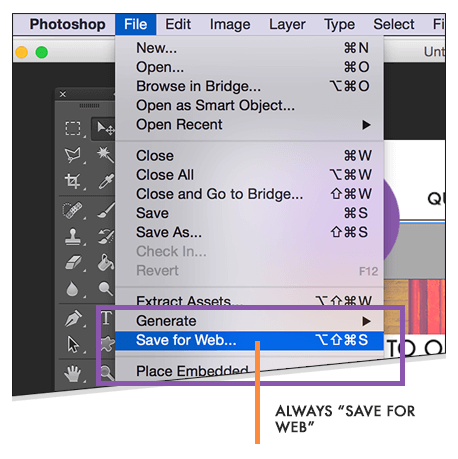
If you don’t use Photoshop, try free online tools like Pixlr, PicMonkey or the evergreen GIMP.
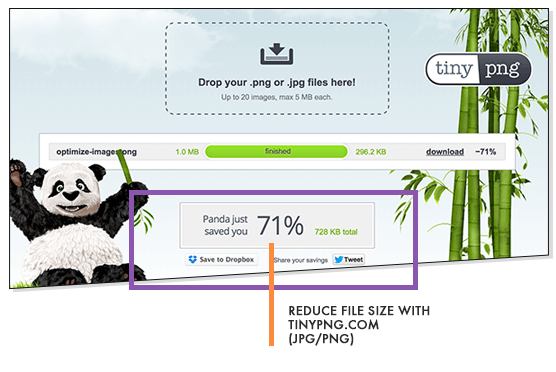
Here are some good tools to reduce the size of your images:
- TinyPNG (online): for PNG or JPG images and Photoshop plugin available!
- ImageOptim: For Mac users ONLY. You will have to download this app to your Mac computer in order to use it.
Here’s an example of how TinyPNG reduced the size of my image:
7. Use titles and descriptions
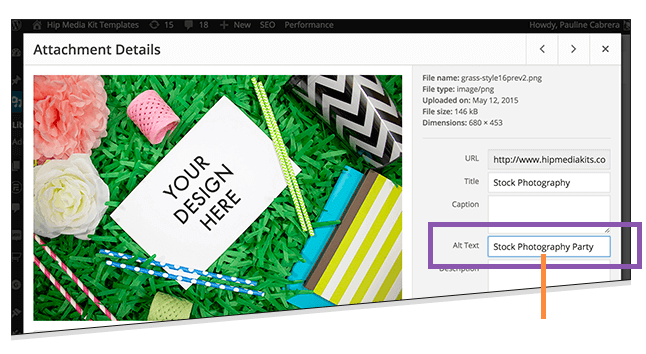
When uploading an image to your website, you can usually add some information about the picture – its title and a short description of what it stands for.
This is meta information which search engines read about your images to make sense of your website. Using smart image texts will significantly help you improve your SEO ranking. Here’s an example:
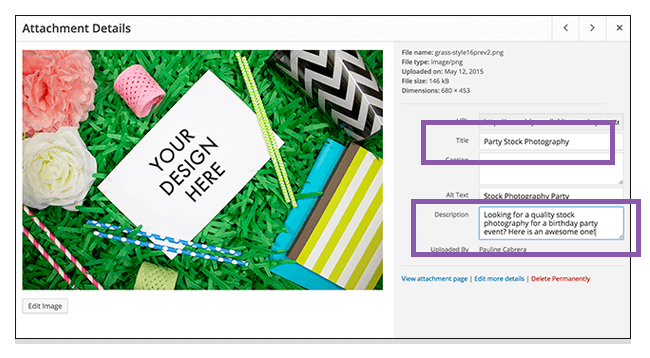
If you’re using WordPress, go to your media library > select an image > enter title and description.
Balance your image descriptions – use your website’s keywords, but also provide a truthful description of the image content.
Follow these smart tips and you’ll be on your way to creating visual content that will boost user experience, reduce load time and improve your SEO.